

« Previous step: Phase 2 Access database
If you did all the work correctly in Phase 1 as recommended in my post Acing Your PAT, Phase 3 is a breeze. Keep polishing and checking your work against the Marking rubric!
In this post:
1. Organisation
Copy your Phase 2 Report from your Phase 2 folder into your Phase 3 folder and rename it appropriately (Surname Name Final PAT Report).
2. Cover page
Grades 11 & 12 must add an Abstract to the Cover page (you should have created the control when you created the outline of the document in Phase 1). An abstract is a summary of a research report and is often used to help the reader quickly ascertain the paper’s purpose.
It should be short and powerful to attract the reader’s attention.
An abstract is a brief summary (3–4 lines as a guideline) of the contents of the report. After reading the abstract, readers should be aware of the content of the report so that they can know, at a glance, whether or not they wish to read the full report.
Grade 12 Learner Guide 2022
Note that the abstract is not an introduction to, but rather an overview of, the content and purpose of the report and should include a very brief mention of the findings.
TIP: You are advised to recheck your abstract after you have completed the report.
A meaningful abstract/extract – a brief paragraph of 50 – 100 words that summarises your entire investigation (An abstract is written after the entire planning document is finished and covers the major points in your planning document. It should not be a copy of the task definition.) – this could be used for the Main webpage
Grade 11 Learner Guide 2022
3. Introduction
Change the heading “Task Definition” to “Introduction” — the focus must be on:
- The overview of the problem (“The current situation…”)
- The purpose of the investigation (“The purpose of the investigation…”)
- The clear focus of the investigation (“The focus of the investigation…”)
Remove the paragraphs on how you planned to conduct the research/project and the target audience (or lose the mark for “No other unnecessary information”).
Use formal English:
- Remove all personal pronouns:
My investigation» The investigation - Write in the past tense
Delete the Focus Question page with everything on it.
4. Content
First, delete the placeholder heading “Discussion and Analysis” (or “Contents”) which was created in your Phase 1 report outline.
Now, use your headings from the Categories column in your Research Questions table. Add them to the content section of the report — make sure they are in a logical order.
For example:
- Background
- Impact
- Solutions
Now, copy each of the summaries from each of the questions under the relevant headings into the above headings. If research question 1 is categorised as “Impact”, copy-paste its summary under the heading “Impact” in the main section of the report. Make sure the text is in a logical order — you may have to spend some time editing your summaries.
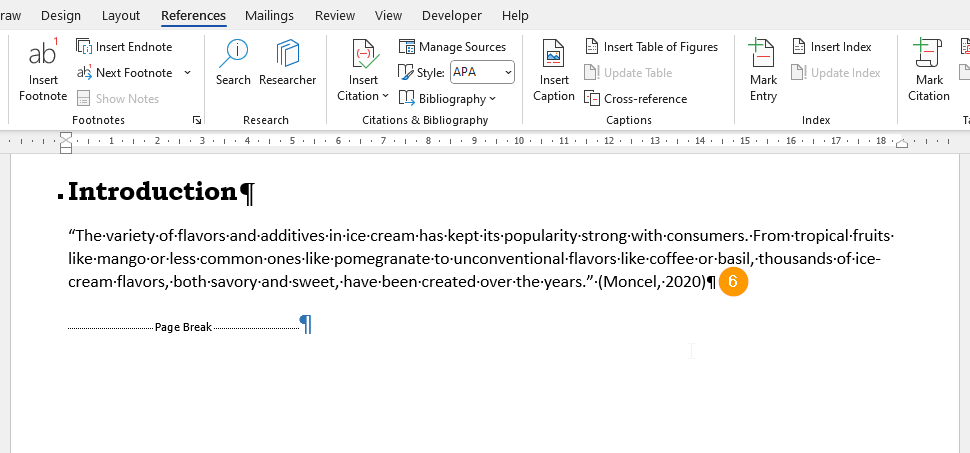
You must cite your sources in the actual body of the report.
5. Citations
Cite your work as you go — you should have created your Sources in Phase 1 — if not, create them now. If the source for research question 1 was one of the sources for which you created a citation, don’t forget to cite the paragraph(s). To cite your text:

- Place your cursor at the end of the last sentence of the paragraph you are citing, hit the space bar
- Select the References menu,
- Confirm the Style you are using
- Click on the Insert Citation button
- Click on the relevant source to insert it
- The citation is inserted
6. Findings
The Grade 12 Learner Guide:
The Grade 12 Learner Guide 2022
- Formulating your findings.
- You need to formulate as least THREE appropriate claims, arguments or findings that are appropriate and relevant to the investigation (as guided by your focus question).
- All these claims, arguments and findings must be:
- Answers to your focus question and research questions
- Supported by relevant, appropriate data/information/graphs/diagrams, etc.
- Meaningful explanations of how or why the evidence supports these findings
- Drawn from information presented in the report and address the original problem statement/focus in light of the evidence presented
You embedded your Excel Chart on your Findings page in Phase 2. Embed the two remaining charts if you have not already done so. Now explain in words what each of these Excel Charts represents. These will be your statements of knowledge. You can process data from elsewhere, such as a website source or your extra data source, to create your statements of knowledge. Explain how you arrived at this knowledge. Add to this any other information that you discovered that provides the solution to your Focus Question.
Don’t forget to add Captions to your Chart images.
7. Conclusion
The marking rubric says:
“REPORT – CONCLUSION
Grade 12 2020 PAT marking rubric
Meaningful and logical conclusion drawn from the information and evidence presented and addresses the original problem/investigation, appropriately summarised. Any new information presented at this point must have been appropriately investigated/researched, with supporting evidence.”
It goes on to specify the following requirements:
- Conclusion present
- Conclusion drawn from information presented in report and addresses the original problem statement/focus in light of the evidence presented
- Conclusion is meaningful and logical
- Conclusion relevant to the Focus Question in Phase 1
8. Bibliography
You created your 3 sources in Phase 1 so this step should simply be a case of inserting your cursor on a blank line below your “Bibliography” heading and inserting the bibliography using the button on the References tab. Delete the now obsolete Bibliography placeholder heading (the Bibliography field includes a heading).
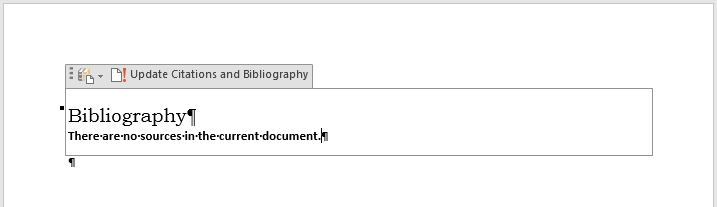
If you inserted your bibliography at an earlier stage, be sure to update it.
9. Tables
Your tables should have a consistent style (fonts, font sizes, background & border colours etc.). Headings (column & row headings) should stand out from data rows. Add Cell Margins so that tables do not look cramped and to make them easy to read.
All your tables must have Captions inserted. If you left an open line between two tables to prevent them from merging into one table, you can remove the blank paragraph once the captions have been added as the captions will keep the tables separate. I prefer captions to be below the tables.
All your tables should be formatted correctly and consistently: the headings row(s) should at least be bold and centred, the tables should be Auto-fitted to the page and there should be no text wrapping on the table.

The column heading row of each table should be set to repeat (especially for your Research Questions table which almost certainly spans multiple pages). See the Mastering tables in Word tutorial.
Your smaller tables should be set so that they do not split across two pages. See the Mastering tables in Word tutorial.
Remember: even your standard paragraphs should have the Normal Style applied.
10. Table of Figures
Add a Table of Figures below the Table of Figures placeholder heading that you created in your Phase 1 report outline. Use the Insert Table of Figures button on the References menu.
11. Table of Tables
Add a Table of Tables below the Table of Figures.
12. Styles
Make a final check of your Styles. If you select a heading or any text for that matter, the style applied to the selection should be highlighted in the QuickStyles Gallery. If you click on that Style there should be no change to the selected text. If the selected text does change, it means you applied the style and then applied some other formatting to the selection after that.
Top Tip: sometimes something odd, like a picture, will appear in your Table of Contents. If this happens it means that that picture has a style applied to it. Navigate to the picture, select it and apply the Normal style to it. Update your Table of Contents and the picture should disappear.
Learn more about Word’s Table of Contents.
13. Finishing touches
Don’t forget to:
- delete ALL blank paragraphs
- check that all of your tables and images have Captions inserted
- update all your fields & check their contents: Table of Contents, Table of Figures, Table of Tables and Bibliography
- do a final check on your word spacing
- do a final check of all your spelling & grammar (by running Word’s Spelling & Grammar checker)
- do a final check on all spacing (vertical & horizontal)
- check your page numbering
Next step: Phase 3 HTML website »